
Schwarzkopf Keratin Color
Colouring your hair at home can be a little scary. I’ve been colour treating my hair since high school, A) because I’m not a fan of my natural colour, B) because I like to have fun with colour and C) because I need to cover up those greys. As much as I love going to the salon, it can be time consuming and expensive. Since I’m heading to Vegas tomorrow, and my amazing hair dresser is currently on holidays, I thought I’d head to the drugstore and pick up a new shade to colour my hair at home.
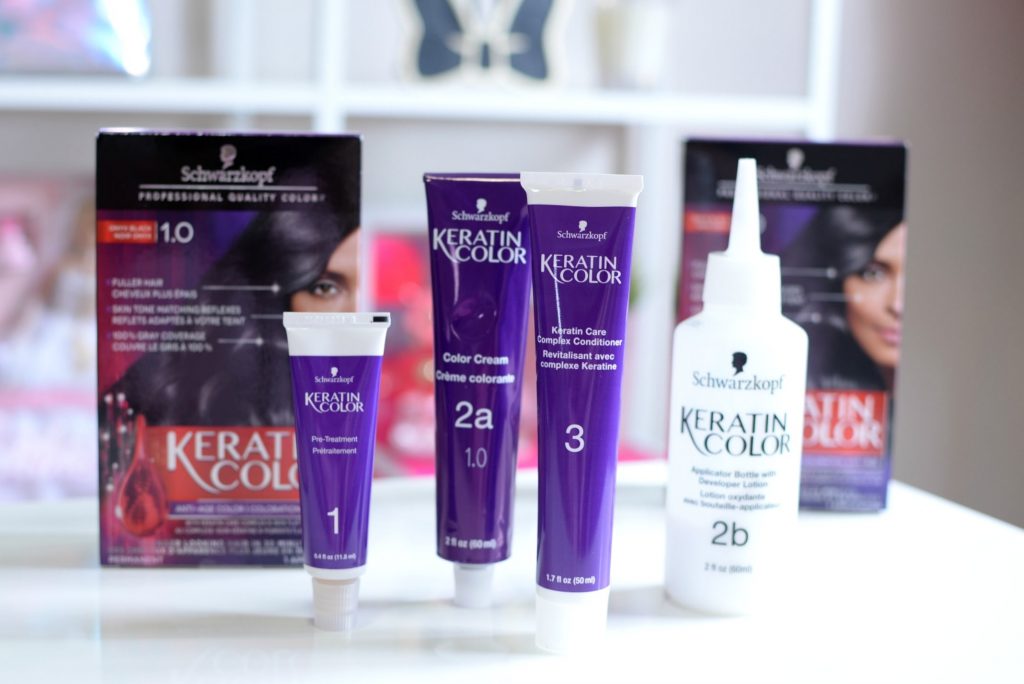
Sure, home hair dyes can be intimidating, but achieving salon-perfect hues at home is easy with Schwarzkopf. This professional salon brand recently launched their salon quality colours into your favourite retailers across Canada. The new Schwarzkopf Keratin Color line not only offers 100% grey coverage, it also features keratin to help repair and protect my hair. This is not only beneficial for someone who colour treats her hair, it’s more accessible and affordable than hitting the salon monthly.

Of course, the first step of picking out your new hair colour is identifying your natural hair colour. This will help to ensure you select the perfect shade that’s best suited for your natural skin tone. Also, be realistic when picking your colour. If it’s your first-time colour treating your hair from home, don’t go for a super dramatic change, this may lead to disappointment. I went with shade Keratin Color 1.0 Onyx Black/ Noir onyx, a jet-black hue that’s going to make a bold statement, but also the current shade I’ve been working. The brand offers a wide range of 14 beautiful shades to pick from.
I also suggest buying more than you need. Just because the box says you’ll only need one treatment, it’s better to have extra colour on hand, than realizing you need more halfway through your colour. Depending on your length and thickness, you may require a few boxes. Depending on your shade selection, you may only need to focus on the roots. Since the goal for me is to hide my in-grown roots, I place most of the product on the roots and drag the colour down evenly. Focus on the roots and then work your way mid-shade to the ends for a more natural effect. If you’re looking to change your hair dramatically or adding in highlights and lowlights, you may want to leave that up to the professionals.

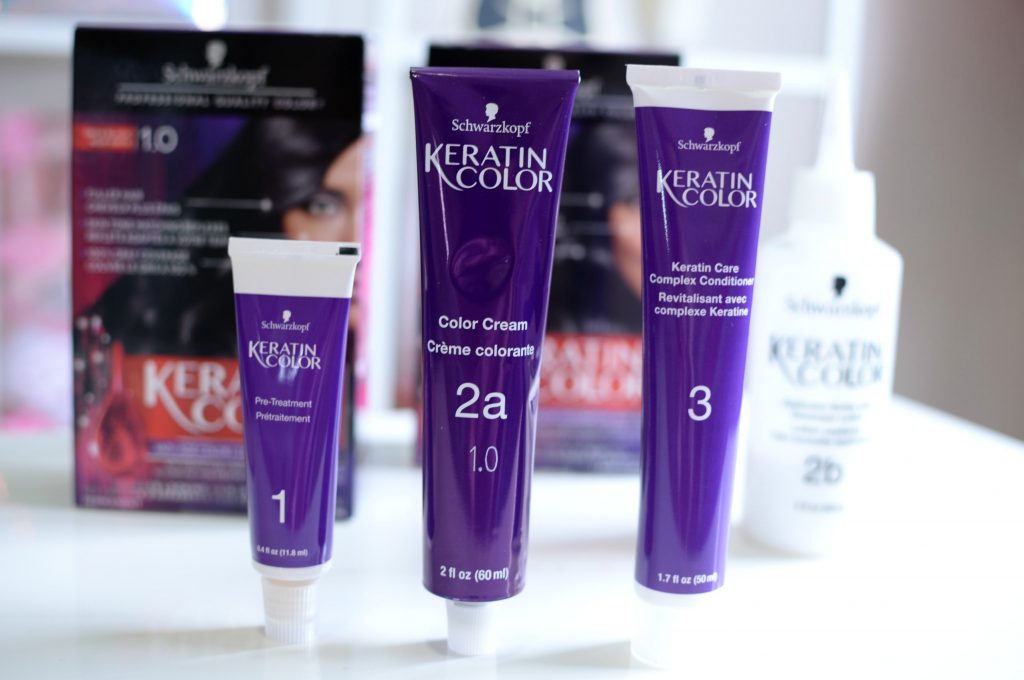
Make sure you properly section off your hair into sections before dying. Schwarzkopf Keratin Color comes with everything you need, including an easy to use application bottle, developer lotion, colour cream, conditioner, a pre-treatment mask and gloves. The most important thing to remember when colouring your hair at home, is to take your time. Most mistakes are made due to rushing. Allow yourself enough time to read the instructions.

Now that your colour has been applied, the shampoo and conditioner you use daily is just as important as the colour itself. I already reviewed the amazing GLISS Hair Repair collection, but I’ve now switched to the GLISS Color Guard, designed to protect colour from fading.
Make sure you’re following me on Instagram to see how my colour is holding up.
“Disclosure: This post was sponsored by Schwarzkopf Canada, but all opinions on this blog are my own. I also want to thank you for supporting the brands that support my blog.”

1 Comment